
|
DWE's Woodwork Page |

|
|
|
DWE's Woodwork Page |
|
I only did two years of woodwork in school and we were never taught how to do joints in any systematic way. So I went on a basic woodworking course at West Dean which gave me enough to get started. West Dean is a most excellent place for all sorts of courses. So far, I've done woodwork, framing, lino printing and leaded glass work.
As soon as I came back from West Dean I practiced my mortice and tenon joints since we only had time for a demonstration of how to do these while we were there. I think I got the hang of them.

| 
|

| 
|

| 
|

| TenonsAfter marking out with a knife and a marking gauge, saw away most of the wood and finish off with a chisel. You will need to cut off the shoulders of the tenon as well - I don't have a picture of that. |

| 
|

| MorticeAfter marking out with a knife and a marking gauge remove the unwanted wood with a chisel.Top tips:
|

| 
|

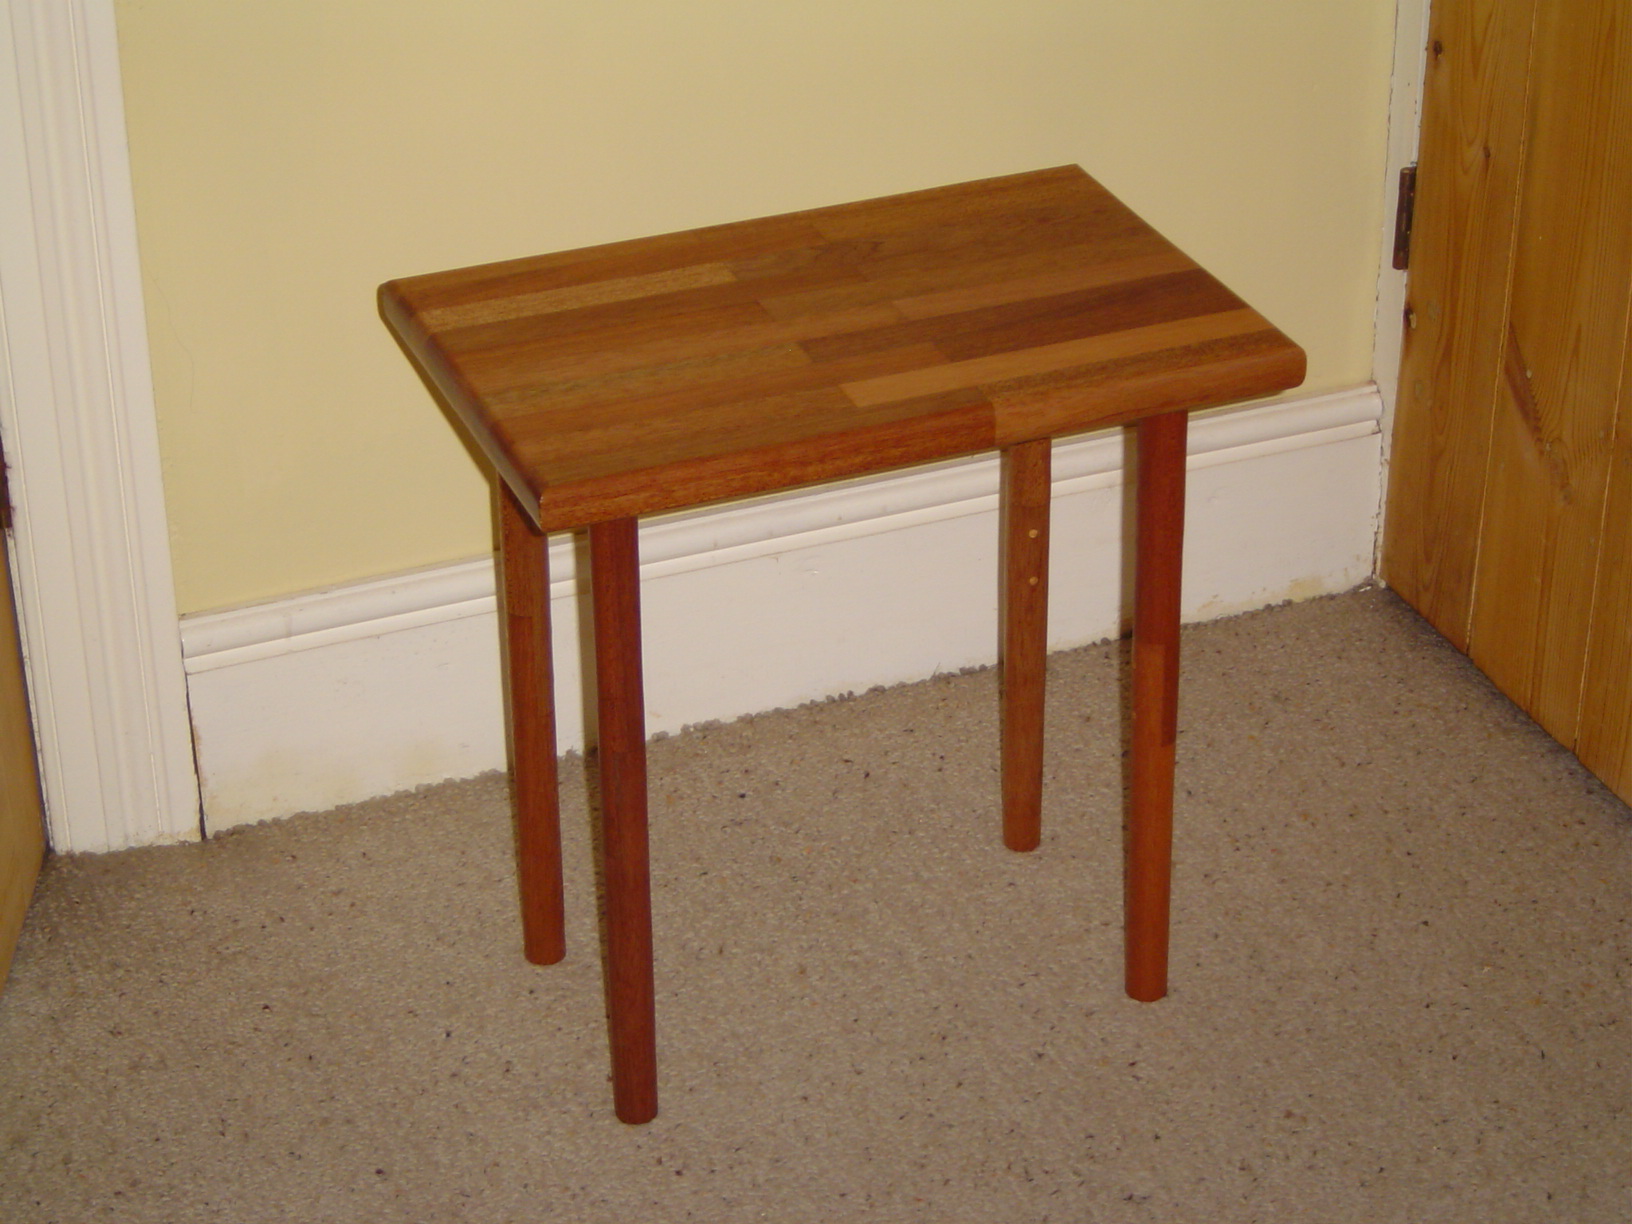
| ... and the final product. BTW the far leg is fixed at right angles to the base. It's just the perspective that makes it look askew (honest). |

| 
|

|
Trevor the TrebuchetWhile on a Belle France cycling holiday in the Perigord I visited Castelnaud which had a full-sized trebuchet from a design by Konrad Kyeser. In the gift shop they were selling models of this. I had to get one.Note tube of chocolate mini eggs in the first picture - they are the perfect projectile. |

| 
|

| 
|
 A friend of mine wanted a table repaired. The problem was how to clamp the
table since the curved edge made the clamps slip off. The solution was to
cut some wood to the correct shape and use them as buffers.
A friend of mine wanted a table repaired. The problem was how to clamp the
table since the curved edge made the clamps slip off. The solution was to
cut some wood to the correct shape and use them as buffers.

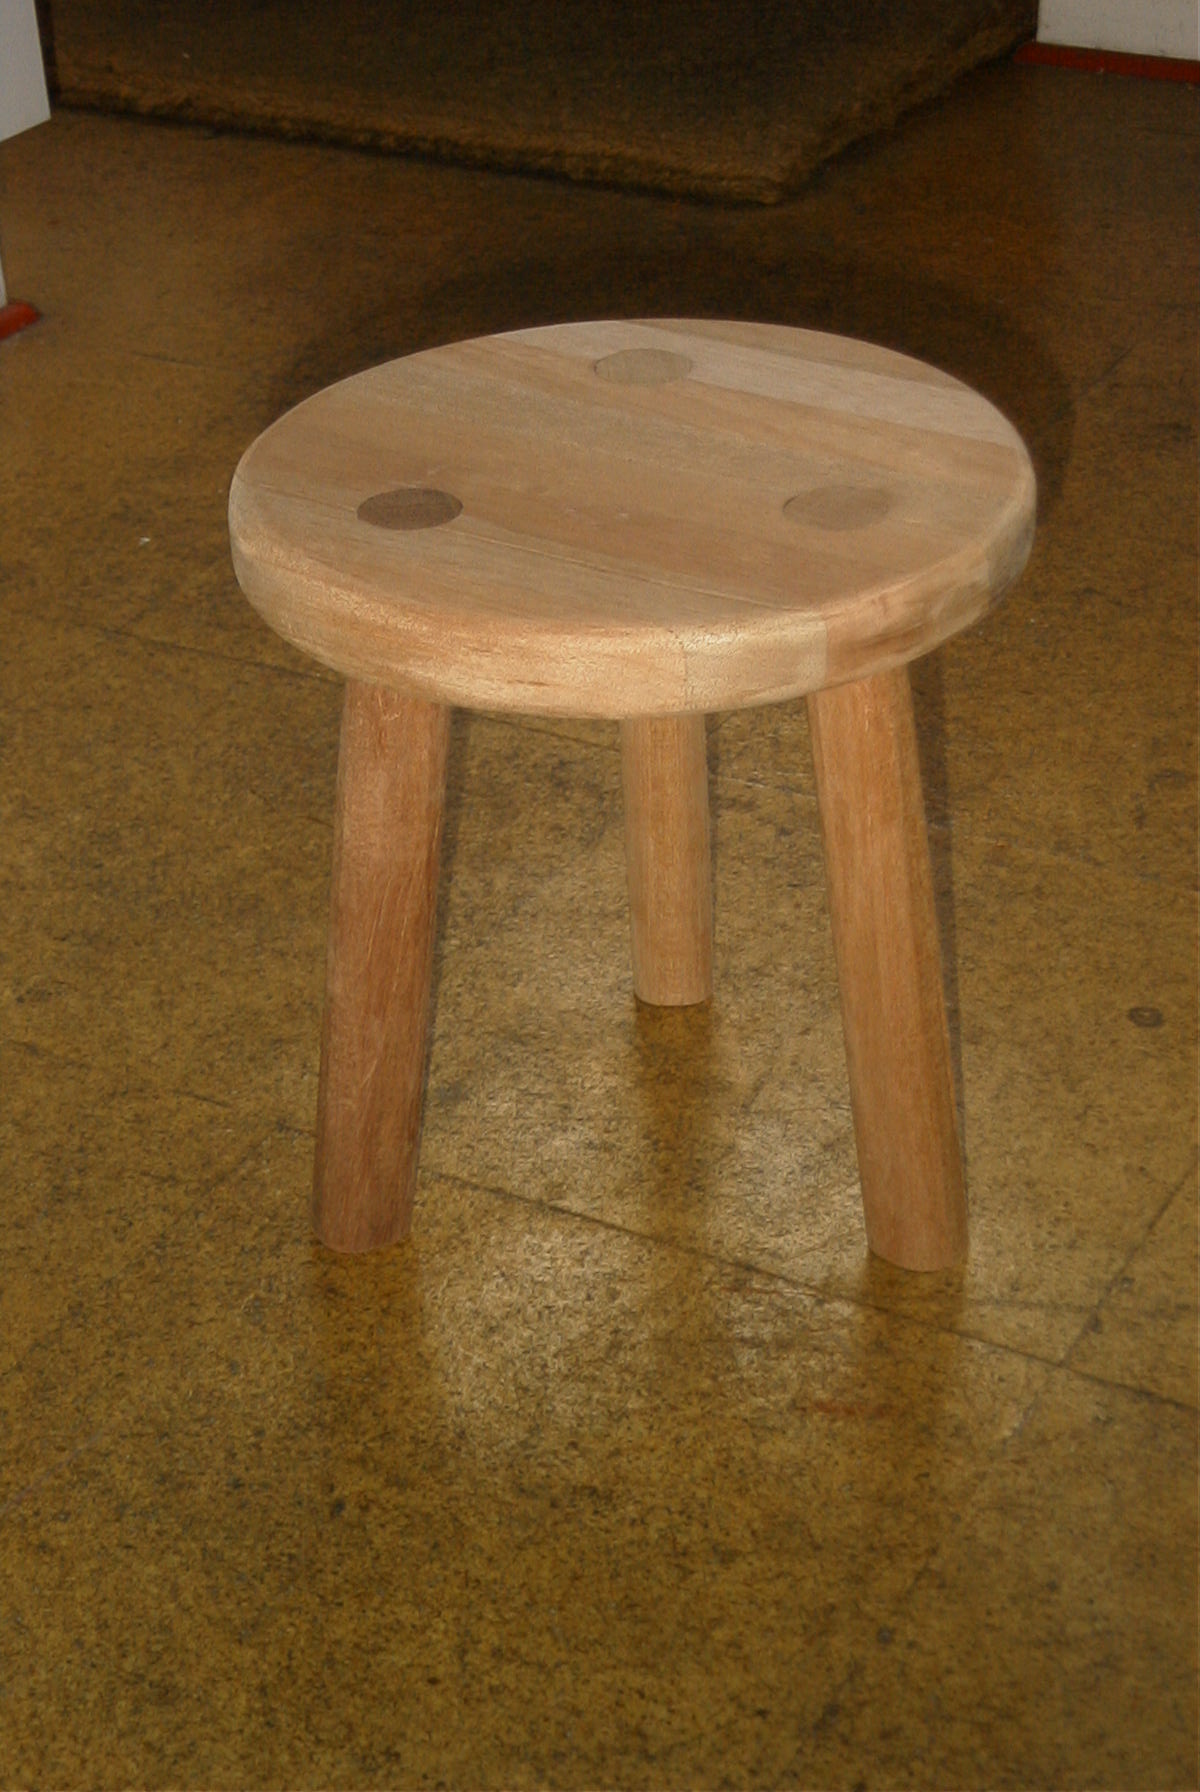
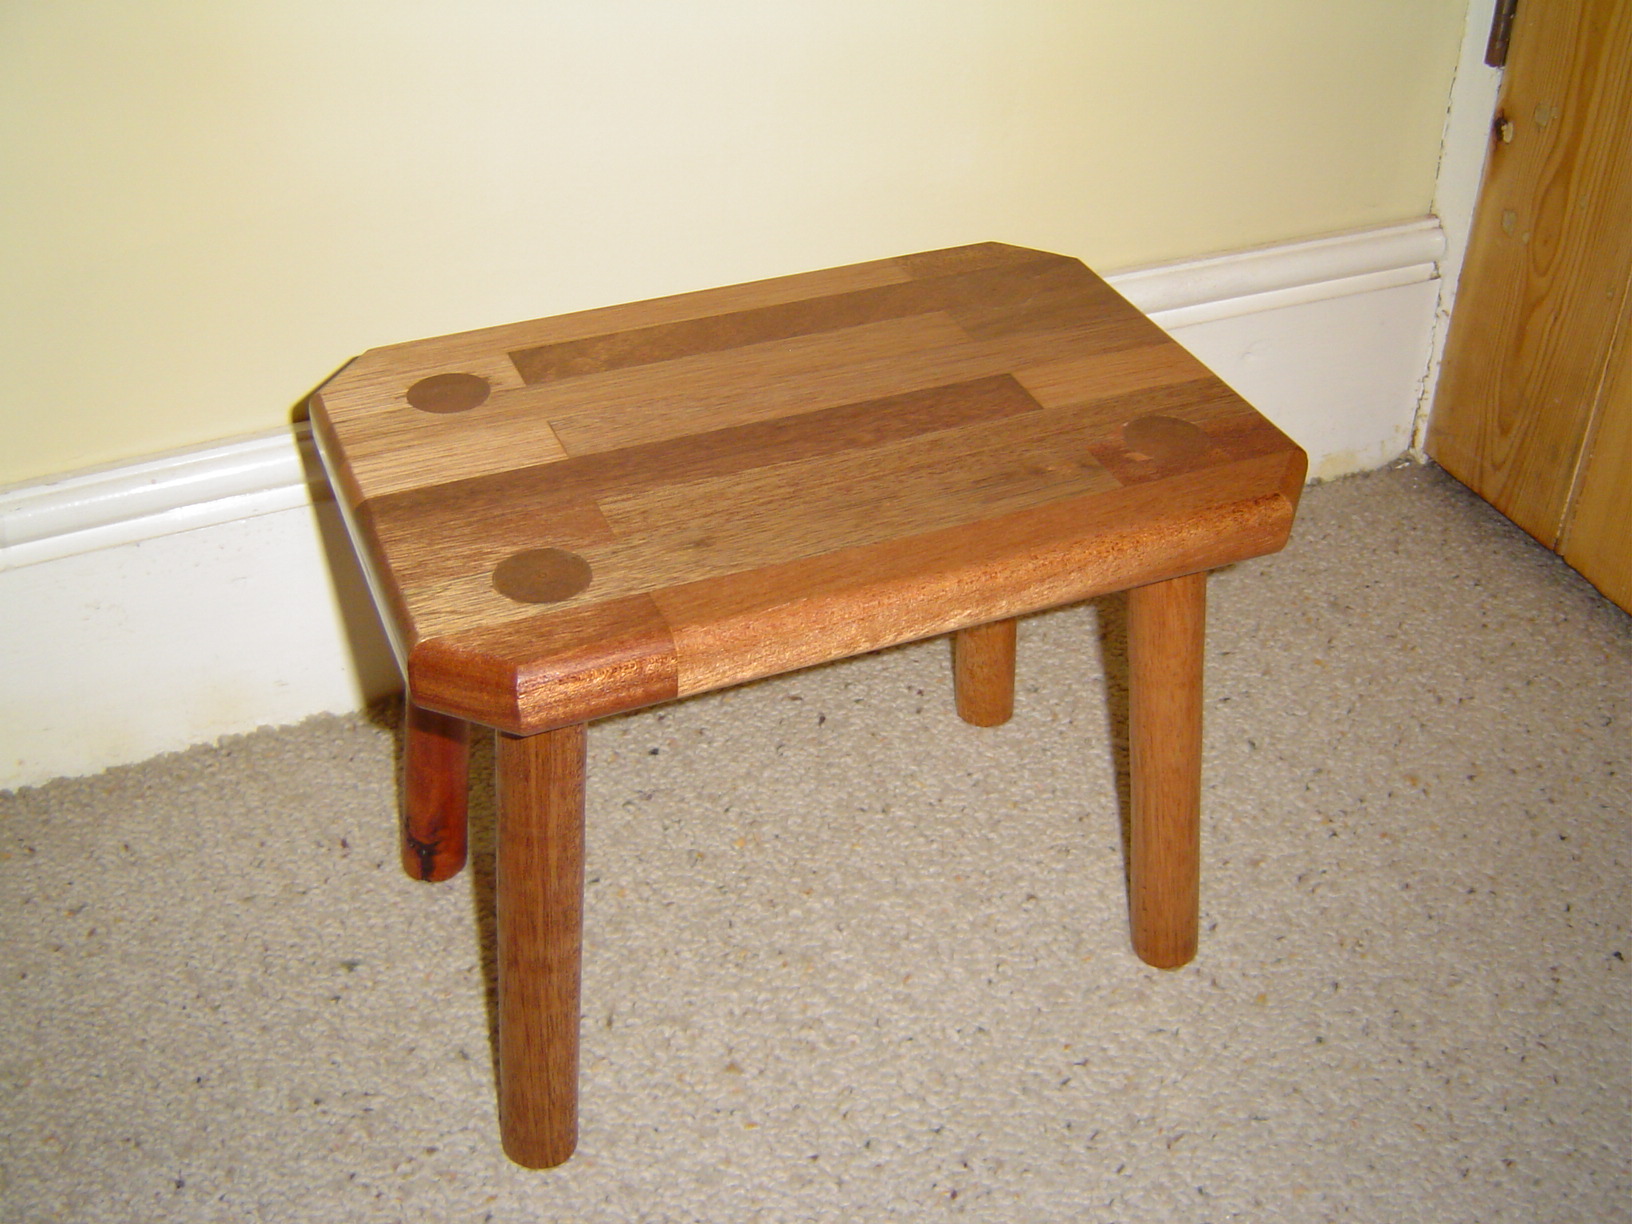
| So what do I do with all these blocks? The original owner was to going to make a big wine rack out of them. Then my friends acquired the blocks and were going to try their hand at parquet flooring. My main use is to join the blocks together with biscuit joints and then make stools and tables from them. | 
| 
|

| 
|
| 
|

| The blocks are not quite the same size. The cross sectional dimension
varies from 31 to 33 mm. Initially, I just joined them up and let the sander
get them level. This is really tedious and sometimes the blocks don't have
square edges, so your "board" is not very flat (unless you sand it to
submission).
So some preparation does pay dividends. Since I can't afford a thicknesser and my planing skill is not so good that I can get a perfect 30x30 mm cross section each time, I designed a jig that would fit my hand plane and help me get my desired cross section. In the end I got tired of all the planing, so bought a cheap powered planer and built myself a bigger jig. Ideally, I still want a thicknesser/planer (and enough room to store all this kit! - the kitchen is not big enough). |

| 
|

| 
|
| 
|

| |


| 
|

| This is an ongoing project and not a huge success. I joined a number of my blocks together and, using a template, tried to cut out the required shapes using my small bandsaw. To be honest, my bandsaw is not up to much and the blade tends to wander a bit. Many of the mistakes are having to be fixed with filler and much sanding. This is very tedious. |

|

|
| First start with the ubiquitous mahogany blocks. | Then split them in half. This time my band saw did come up with the goods, but I did have to make another jig for my power planer to get them all to the same thickness. This also gets rid of the band saw blade marks. |

|

|
| Using a mitre saw, cut each piece in half. This cut should be angled so that the outer edge had a 120° angle. Use the stop on your mitre saw so that each piece is exactly the same length. | Using a biscuit jointer, cut slots in the pieces so that they can be aligned properly while being glued. |

|

|
| The first piece has to be glued held together gently by hand, since any form of clamping would make the pieces slip against each other. This is the top piece and doesn't have slots cut into the top edge! |
Afterwards it's clamps galore!
Remember to alternate the handedness of each layer. |

|
|
|
You do this until the last i.e. bottom, layer. Then start sanding the
inside. This is a lot easier without the bottom fitted. You would think that
with all the pieces being the same width and having used biscuit joints to
align the whole thing, that there wouldn't be much sanding to do. Wrong.
Things slip during clamping and a lot of awkward sanding is required.
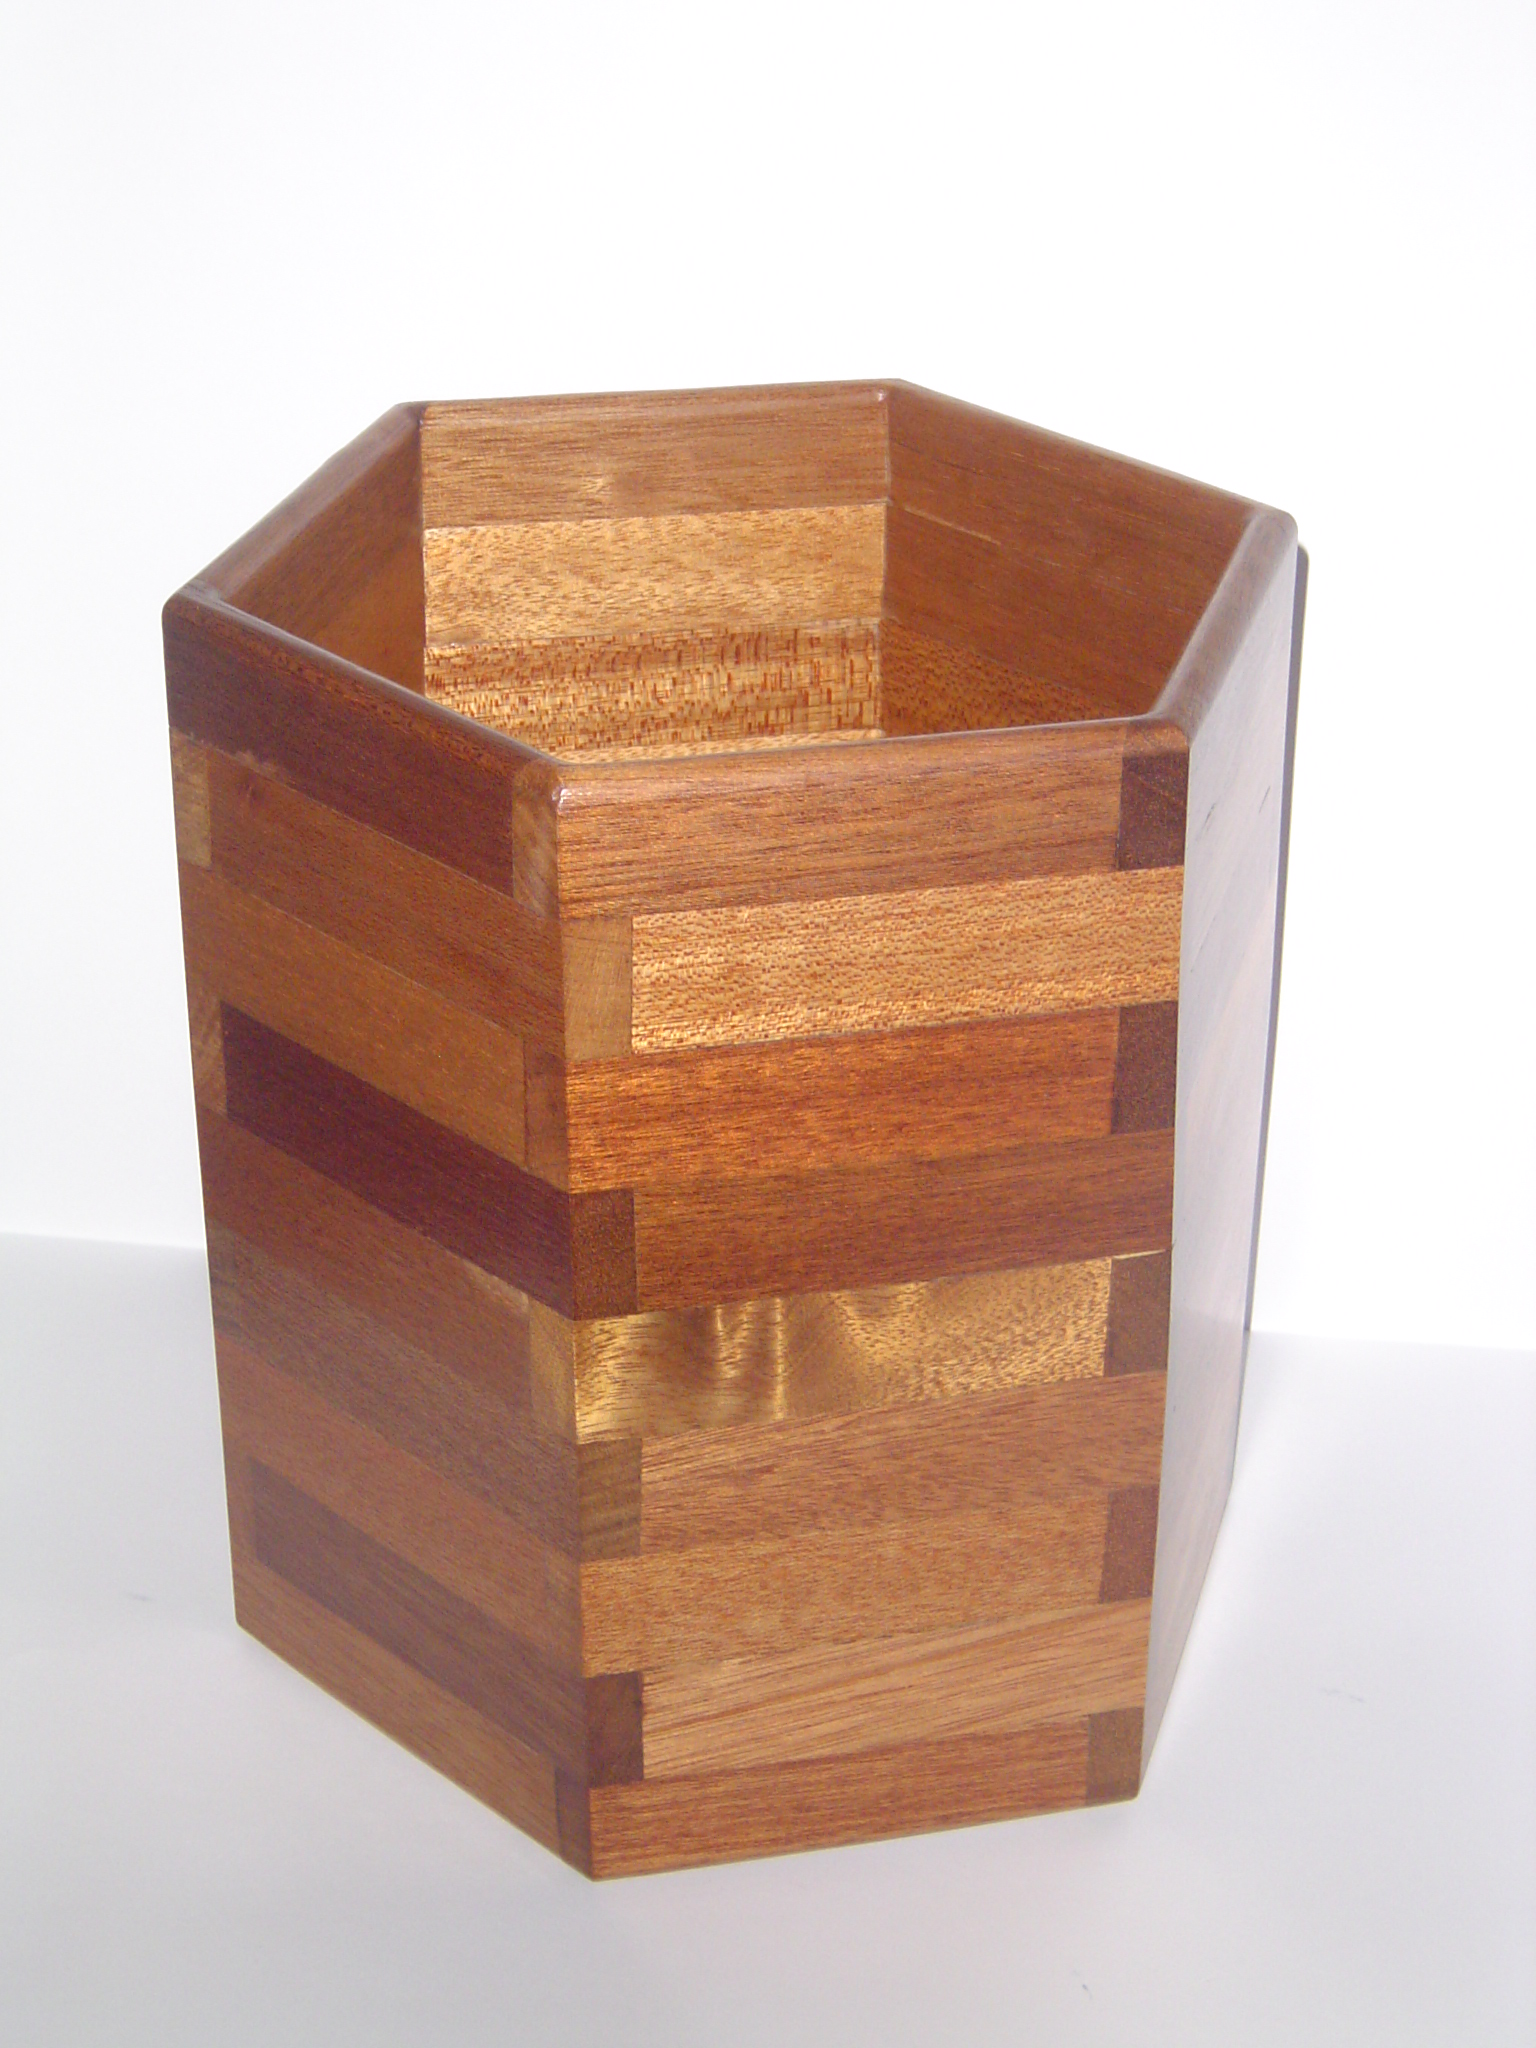
The final layer has a groove cut into the inside part of each of the six pieces. This allows some hardboard to form the bottom. It is quite fiddly to get this in place while trying to glue this final layer onto the rest of the bin. | Round off the edges with a router and then do lots more sanding. Finally apply 2 coats of Danish Oil and some matt varnish to finish off the project. |

|
This time it's round. |


